Microsoft Azure documentation
Deploy NVIDIA Parakeet for Automatic Speech Recognition (ASR) on Microsoft Foundry
Deploy NVIDIA Parakeet for Automatic Speech Recognition (ASR) on Microsoft Foundry
This example showcases how to deploy NVIDIA Parakeet for Automatic Speech Recognition (ASR) from the Hugging Face collection on Microsoft Foundry as an Azure Machine Learning Managed Online Endpoint, powered by Hugging Face’s Inference container on top of NVIDIA NeMo. It also covers how to run inference with cURL, requests, OpenAI Python SDK, and even how to locally run a Gradio application for audio transcription from both recordings and files.
TL;DR NVIDIA NeMo is a scalable generative AI framework built for researchers and developers working on Large Language Models, Multimodal, and Speech AI (Automatic Speech Recognition and Text-to-Speech). NVIDIA NeMo Parakeet ASR Models attain strong speech recognition accuracy while being efficient for inference. Microsoft Foundry (formerly Azure AI Foundry) provides a unified platform for enterprise AI operations, model builders, and application development. Azure Machine Learning is a cloud service for accelerating and managing the machine learning (ML) project lifecycle.
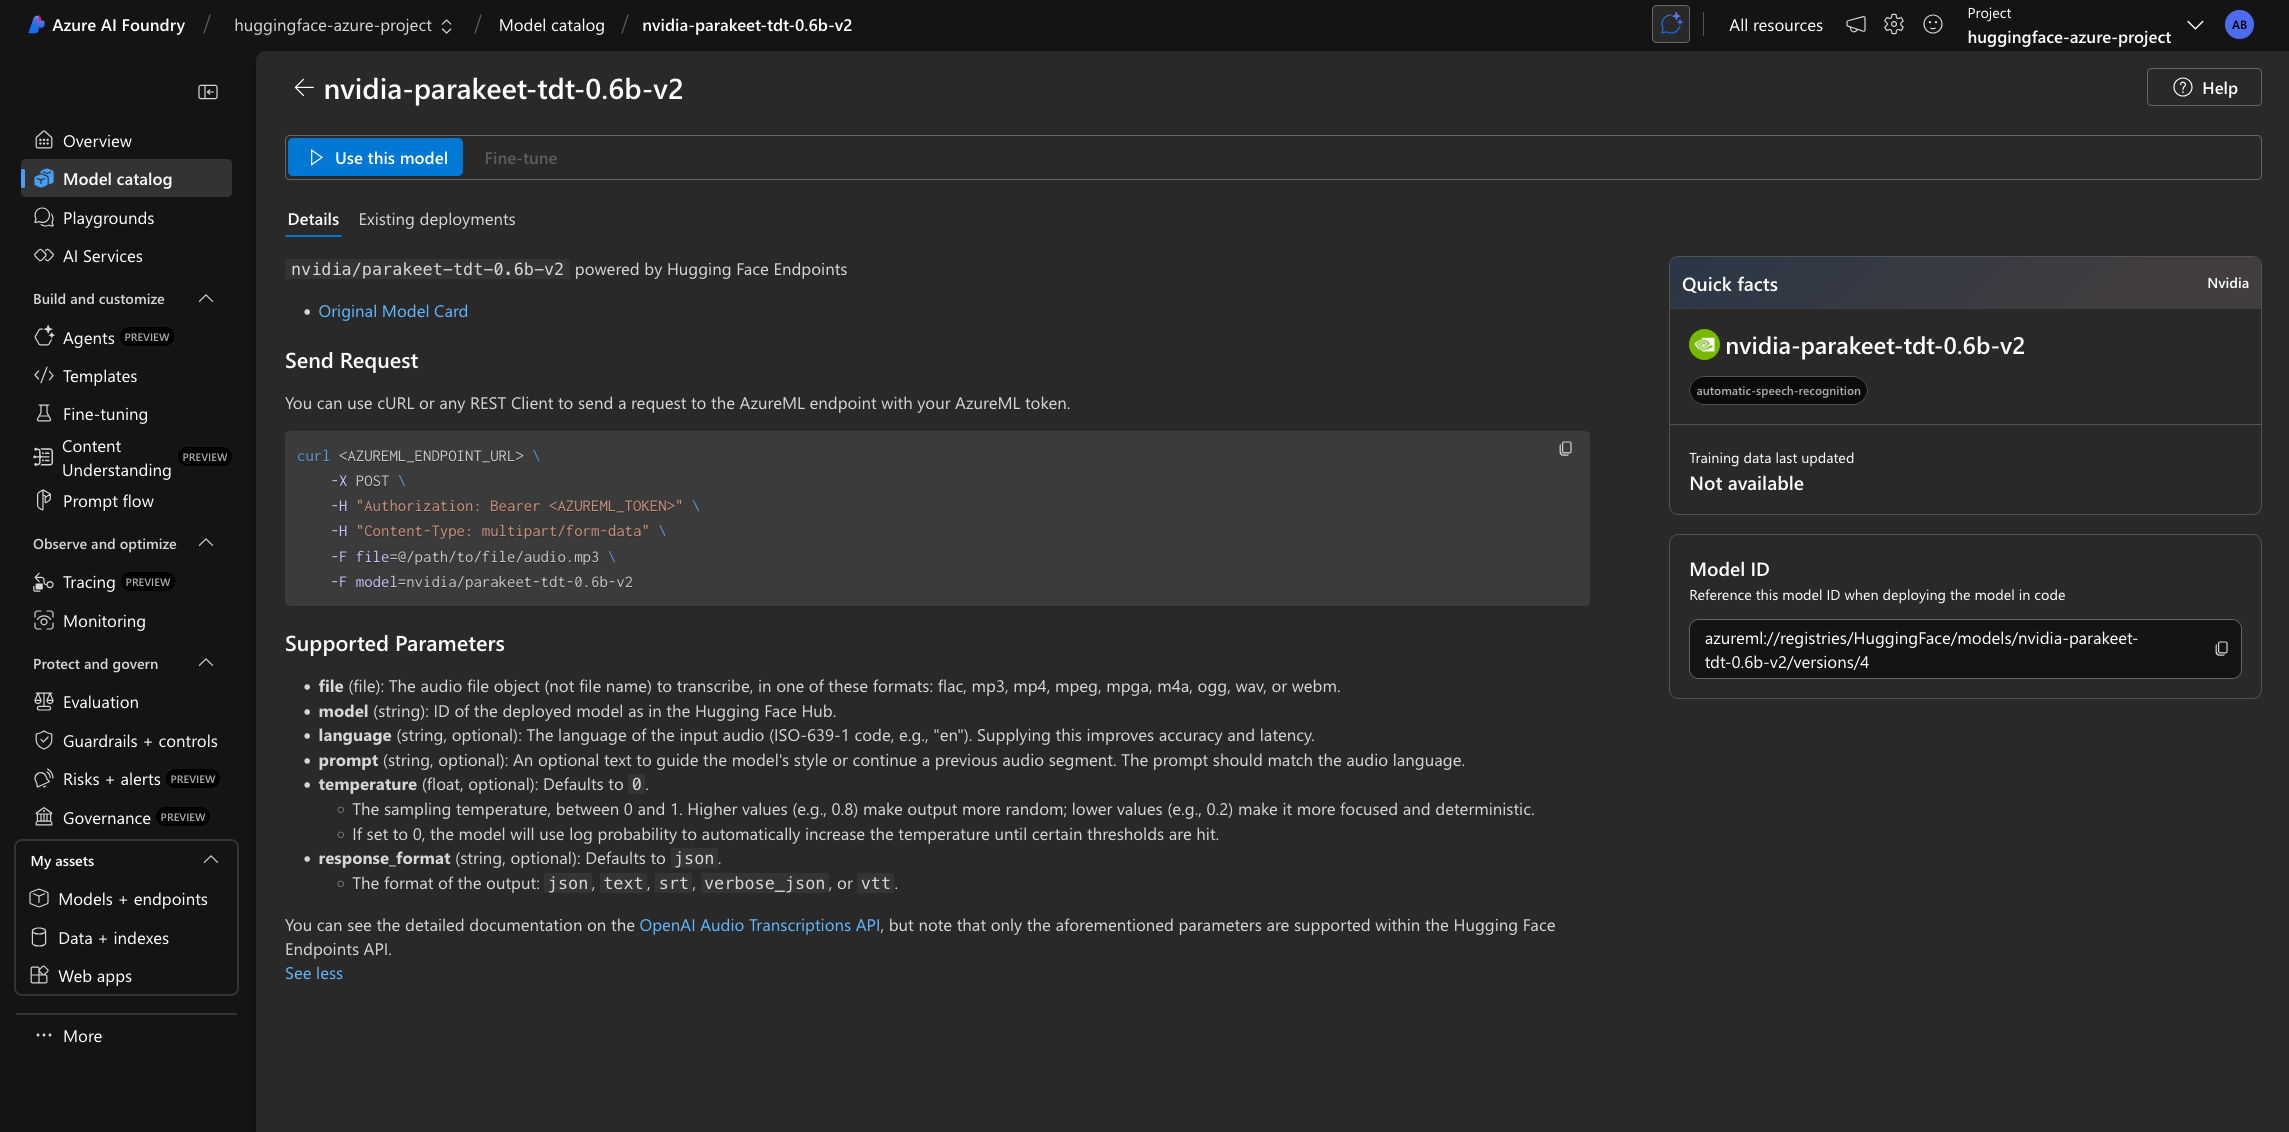
This example will specifically deploy nvidia/parakeet-tdt-0.6b-v2 from the Hugging Face Hub (or see it on AzureML or on Microsoft Foundry) as an Azure Machine Learning Managed Online Endpoint on Microsoft Foundry.
nvidia/parakeet-tdt-0.6b-v2 is a 600-million-parameter automatic speech recognition (ASR) model designed for high-quality English transcription, featuring support for punctuation, capitalization, and accurate timestamp prediction.
This XL variant of the FastConformer architecture integrates the TDT decoder and is trained with full attention, enabling efficient transcription of audio segments up to 24 minutes in a single pass. The model achieves an RTFx of 3380 on the HF-Open-ASR leaderboard with a batch size of 128. Note: RTFx Performance may vary depending on dataset audio duration and batch size.
- Accurate word-level timestamp predictions
- Automatic punctuation and capitalization
- Robust performance on spoken numbers, and song lyrics transcription
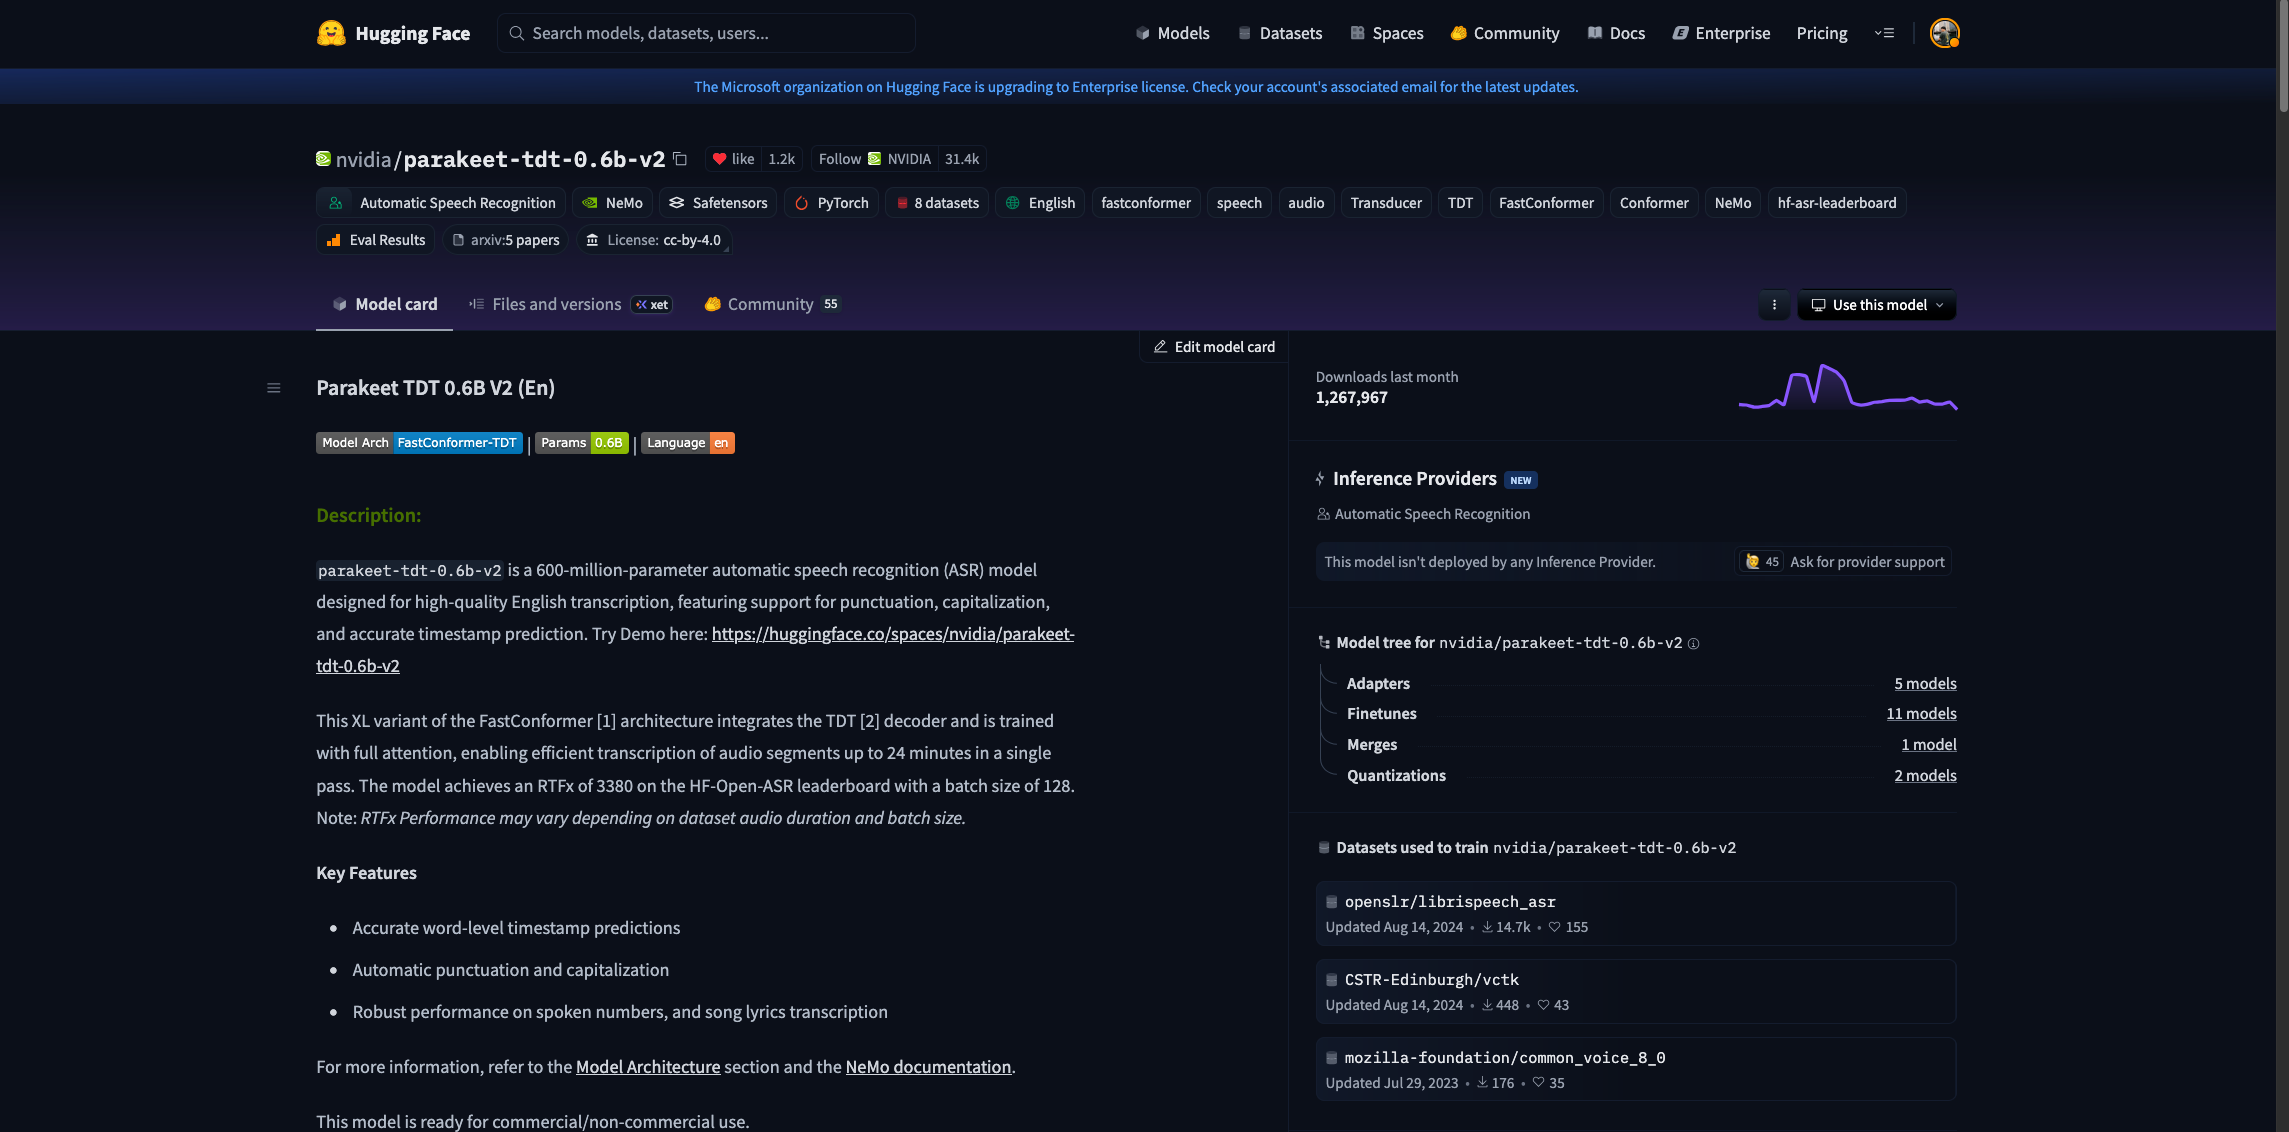
For more information, make sure to check their model card on the Hugging Face Hub and the NVIDIA NeMo Documentation.
Note that you can select any Automatic Speech Recognition (ASR) model available on the Hugging Face Hub with the tag
NeMoand the “Deploy on Microsoft Foundry” option enabled, or directly select any of the ASR models available on either Azure Machine Learning or Microsoft Foundry model catalog under the “HuggingFace” collection. Note that the NVIDIA Parakeet models are powered by NVIDIA NeMo under a Hugging Face API layer.
Pre-requisites
To run the following example, you will need to comply with the following pre-requisites, alternatively, you can also read more about those in the Azure Machine Learning Tutorial: Create resources you need to get started.
- An Azure account with an active subscription.
- The Azure CLI installed and logged in.
- The Azure Machine Learning extension for the Azure CLI.
- An Azure Resource Group.
- A Hub-based project on Microsoft Foundry.
For more information, please go through the steps in the guide “Configure Azure Machine Learning and Microsoft Foundry”.
Setup and installation
In this example, the Azure Machine Learning SDK for Python will be used to create the endpoint and the deployment, as well as to invoke the deployed API. Along with it, you will also need to install azure-identity to authenticate with your Azure credentials via Python.
%pip install azure-ai-ml azure-identity --upgrade --quiet
More information at Azure Machine Learning SDK for Python.
Then, for convenience setting the following environment variables is recommended as those will be used along the example for the Azure Machine Learning Client, so make sure to update and set those values accordingly as per your Microsoft Azure account and resources.
%env LOCATION eastus
%env SUBSCRIPTION_ID <YOUR_SUBSCRIPTION_ID>
%env RESOURCE_GROUP <YOUR_RESOURCE_GROUP>
%env WORKSPACE_NAME <YOUR_WORKSPACE_NAME>
Finally, you also need to define both the endpoint and deployment names, as those will be used throughout the example too:
Note that endpoint names must be globally unique per region i.e., even if you don’t have any endpoint named that way running under your subscription, if the name is reserved by another Azure customer, then you won’t be able to use the same name. Adding a timestamp or a custom identifier is recommended to prevent running into HTTP 400 validation issues when trying to deploy an endpoint with an already locked / reserved name. Also the endpoint name must be between 3 and 32 characters long.
import os
from uuid import uuid4

os.environ["ENDPOINT_NAME"] = f"nvidia-parakeet-{str(uuid4())[:8]}"
os.environ["DEPLOYMENT_NAME"] = f"nvidia-parakeet-{str(uuid4())[:8]}"
Authenticate to Azure Machine Learning
Initially, you need to authenticate into Microsoft Foundry Hub via Azure Machine Learning with the Azure Machine Learning Python SDK, which will be later used to deploy nvidia/parakeet-tdt-0.6b-v2 as an Azure Machine Learning Managed Online Endpoint on Microsoft Foundry.
On standard Azure Machine Learning deployments you’d need to create the
MLClientusing the Azure Machine Learning Workspace as theworkspace_namewhereas for Microsoft Foundry, you need to provide Microsoft Foundry Hub name as theworkspace_nameinstead, and that will deploy the endpoint under Microsoft Foundry too.
import os
from azure.ai.ml import MLClient
from azure.identity import DefaultAzureCredential

client = MLClient(
    credential=DefaultAzureCredential(),
    subscription_id=os.getenv("SUBSCRIPTION_ID"),
    resource_group_name=os.getenv("RESOURCE_GROUP"),
    workspace_name=os.getenv("WORKSPACE_NAME"),
)
Create and Deploy Foundry Endpoint
Before creating the Managed Online Endpoint, you need to build the model URI, which is formatted as it follows azureml://registries/HuggingFace/models/<MODEL_ID>/labels/latest where the MODEL_ID won’t be the Hugging Face Hub ID but rather its name on Azure, as follows:
model_id = "nvidia/parakeet-tdt-0.6b-v2"

model_uri = f"azureml://registries/HuggingFace/models/{model_id.replace('/', '-').replace('_', '-').lower()}/labels/latest"
model_uri
To check if a model from the Hugging Face Hub is available in Azure, you should read about it in Supported Models. If not, you can always Request a model addition in the Hugging Face collection on Azure).
Then you need to create the ManagedOnlineEndpoint via the Azure Machine Learning Python SDK as follows.
Every model in the Hugging Face collection is powered by an efficient inference backend, and each of those can run on a wide variety of instance types (as listed in Supported Hardware). Since for models and inference engines require a GPU-accelerated instance, you might need to request a quota increase as per Manage and increase quotas and limits for resources with Azure Machine Learning.
from azure.ai.ml.entities import ManagedOnlineEndpoint, ManagedOnlineDeployment

endpoint = ManagedOnlineEndpoint(name=os.getenv("ENDPOINT_NAME"))

deployment = ManagedOnlineDeployment(
    name=os.getenv("DEPLOYMENT_NAME"),
    endpoint_name=os.getenv("ENDPOINT_NAME"),
    model=model_uri,
    instance_type="Standard_NC40ads_H100_v5",
    instance_count=1,
)client.begin_create_or_update(endpoint).wait()

On Microsoft Foundry the endpoint will only be listed within the “My assets -> Models + endpoints” tab once the deployment is created, not before as in Azure Machine Learning where the endpoint is shown even if it doesn’t contain any active or in-progress deployments.
client.online_deployments.begin_create_or_update(deployment).wait()

The deployment might take ~10-15 minutes, but it could as well take longer depending on the selected SKU availability in the region. Once deployed, you will be able to inspect the endpoint details, the real-time logs, how to consume the endpoint, and monitoring (on preview).
Find more information about it at Azure Machine Learning Managed Online Endpoints.
Send requests to the Foundry Endpoint
Finally, now that the Foundry Endpoint is deployed, you can send requests to it. In this case, since the task of the model is automatic-speech-recognition and since it expects a multi-part request to be sent along the audio file, the invoke method cannot be used since it only supports JSON payloads.
This being said, you can still send requests to it programmatically via requests, via the OpenAI SDK for Python or with cURL, to the /api/v1/audio/transcriptions route which is the OpenAI-compatible route for the Transcriptions API.
To send the requests then we need both the primary_key and the scoring_uri, which can be retrieved via the Azure Machine Learning Python SDK as it follows:
api_key = client.online_endpoints.get_keys(os.getenv("ENDPOINT_NAME")).primary_key
api_url = client.online_endpoints.get(os.getenv("ENDPOINT_NAME")).scoring_uri
Additionally, since you will need a sample audio file to run the inference over, you will need to download an audio file as e.g. the following, which is the audio file showcased within the nvidia/parakeet-tdt-0.6b-v2 model card:
!wget https://dldata-public.s3.us-east-2.amazonaws.com/2086-149220-0033.wavPython requests
As the deployed Foundry Endpoint for ASR expects a multi-part request, you need to send separately the files, in this case being the audio files, and the data, being the request parameters such as e.g. the model name or the temperature, among others. To do so, you first need to read the audio file into an io.BytesIO object, and then prepare the requests with the necessary headers for both the authentication and the azureml-model-deployment set to point to the actual Foundry Deployment, and send the HTTP POST with both the file and the data as follows:
from io import BytesIO
import requests

audio_file = BytesIO(open("2086-149220-0033.wav", "rb").read())
audio_file.name = "2086-149220-0033.wav"

response = requests.post(
    api_url,
    headers={
        "Authorization": f"Bearer {api_key}",
        "azureml-model-deployment": os.getenv("DEPLOYMENT_NAME"),
    },
    files={"file": (audio_file.name, audio_file, "audio/wav")},
    data={"model": model_id},
)
print(response.json())
# {'text': "Well, I don't wish to see it any more, observed Phebe, turning away her eyes. It is certainly very like the old portrait."}
OpenAI Python SDK
As the exposed scoring URI is an OpenAI-compatible route i.e., /api/v1/audio/transcriptions, you can leverage the OpenAI Python SDK to send requests to the deployed Foundry Endpoint.
%pip install openai --upgrade --quiet
To use the OpenAI Python SDK with Azure Machine Learning Managed Online Endpoints, you need to update the api_url value defined above, since the default scoring_uri comes with the full route, whereas the OpenAI SDK expects the route up until the v1 included, meaning that the /audio/transcriptions should be removed before instantiating the client.
api_url = client.online_endpoints.get(os.getenv("ENDPOINT_NAME")).scoring_uri.replace("/audio/transcriptions", "")Alternatively, you can also build the API URL manually as it follows, since the URIs are globally unique per region, meaning that there will only be one endpoint named the same way within the same region:
api_url = f"https://{os.getenv('ENDPOINT_NAME')}.{os.getenv('LOCATION')}.inference.ml.azure.com/api/v1"Or just retrieve it from either Microsoft Foundry or the Azure Machine Learning Studio.
Then you can use the OpenAI Python SDK normally, making sure to include the extra header azureml-model-deployment header that contains the Microsoft Foundry or Azure Machine Learning Deployment.
Via the OpenAI Python SDK it can either be set within each call to chat.completions.create via the extra_headers parameter as commented below, or via the default_headers parameter when instantiating the OpenAI client (which is the recommended approach since the header needs to be present on each request, so setting it just once is preferred).
import os
from openai import OpenAI

openai_client = OpenAI(
    base_url=api_url,
    api_key=api_key,
    default_headers={"azureml-model-deployment": os.getenv("DEPLOYMENT_NAME")},
)

transcription = openai_client.audio.transcriptions.create(
    model=model_id,
    file=open("2086-149220-0033.wav", "rb"),
    response_format="json",
)
print(transcription.text)
# Well, I don't wish to see it any more, observed Phebe, turning away her eyes. It is certainly very like the old portrait.
cURL
Alternatively, you can also just use cURL to send requests to the deployed endpoint, with the api_url and api_key values programmatically retrieved in the OpenAI snippet and now set as environment variables so that cURL can use those, as it follows:
os.environ["API_URL"] = api_url
os.environ["API_KEY"] = api_key!curl -sS $API_URL/audio/transcriptions \
-H "Authorization: Bearer $API_KEY" \
-H "azureml-model-deployment: $DEPLOYMENT_NAME" \
-H "Content-Type: multipart/form-data" \
-F file=@2086-149220-0033.wav \
-F model=nvidia/parakeet-tdt-0.6b-v2Alternatively, you can also just go to the Foundry Endpoint on either Microsoft Foundry under “My assets -> Models + endpoints” or in the Azure Machine Learning Studio via “Endpoints”, and retrieve both the scoring URI and the API Key values, as well as the Microsoft Foundry or Azure Machine Learning name for the given model.
Gradio
Gradio is the fastest way to demo your machine learning model with a friendly web interface so that anyone can use it. You can also leverage the OpenAI Python SDK to build a simple automatic-speech-recognition i.e., speech to text demo that you can use within the Jupyter Notebook cell where you are running it.
Alternatively, the Gradio demo connected to your Azure Machine Learning Managed Online Endpoint as an Azure Container App as described in Tutorial: Build and deploy from source code to Azure Container Apps. If you’d like us to show you how to do it for Gradio in particular, feel free to open an issue requesting it.
%pip install gradio --upgrade --quiet
import os
from pathlib import Path

import gradio as gr
from openai import OpenAI

openai_client = OpenAI(
    base_url=os.getenv("API_URL"),
    api_key=os.getenv("API_KEY"),
    default_headers={"azureml-model-deployment": os.getenv("DEPLOYMENT_NAME")}
)

def transcribe(audio: Path, temperature: float = 1.0) -> str:
    return openai_client.audio.transcriptions.create(
        model=model_id,
        file=open(audio, "rb"),
        temperature=temperature,
        response_format="text",
    )

demo = gr.Interface(
    fn=transcribe,
    inputs=[
        # https://www.gradio.app/docs/gradio/audio
        gr.Audio(type="filepath", streaming=False, label="Upload or Record Audio"),
        gr.Slider(0, 1, value=0.0, step=0.1, label="Temperature")
    ],
    outputs=gr.Textbox(label="Transcribed Text"),
    title="NVIDIA Parakeet on Microsoft Foundry",
    description="Upload or record audio and get the transcribed text using NVIDIA Parakeet on Microsoft Foundry via the OpenAI's Transcription API.",
)

demo.launch()
Release resources
Once you are done using the Foundry Endpoint, you can delete the resources (i.e., you will stop paying for the instance on which the model is running and all the attached costs) as follows:
client.online_endpoints.begin_delete(name=os.getenv("ENDPOINT_NAME")).result()Conclusion
Throughout this example you learnt how to create and configure your Azure account for Azure Machine Learning and Microsoft Foundry, how to then create a Managed Online Endpoint running an open model for Automatic Speech Recognition (ASR) from the Hugging Face collection on Microsoft Foundry and Azure Machine Learning model catalog, how to send inference requests to it afterwards with different alternatives, how to build a simple Gradio chat interface around it, and finally, how to stop and release the resources.
If you have any doubt, issue or question about this example, feel free to open an issue and we’ll do our best to help!
Update on GitHub📍 Find the complete example on GitHub here!